|
Logo |
  
|
|
Logo |
|
EnergySteward.com provides an ability to upload corporate letterhead logo's/graphics which will be used in various reports (invoices, remittance, confirmations, etc.). Logo's on these reports will always default to the company logo for the EnergySteward.com subscription. However, if the logo a is found here (for the primary party when printing out statements for example) then it will print, instead of the default logo.
This can be used if you are managing contracts/deals in an agency type relationship for other companies. You might need to print invoices, confirmations, etc. for other companies. In that case, the other company will be the primary party on the contract and the subsequent deals. If you want the various report statements to print unique letterhead/logo's on their own respective statements then simply upload their graphic logo, for their company. Below is the screen used to add/update/view a logo image for a company.
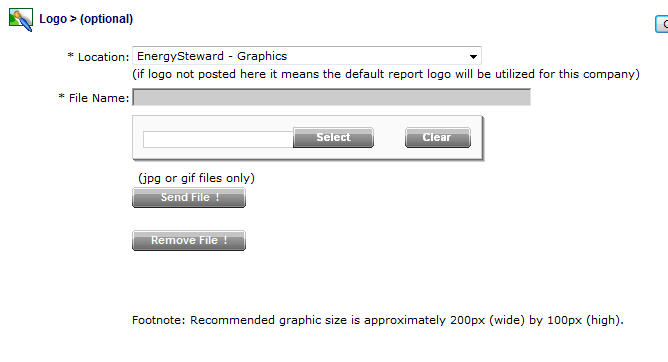
Location (drop down list box) - This indicates the system name where the "Logo File" will be (is) located. When you upload the logo image file it will be stored on system servers within a specific path, referenced by this name. Most of the time this should be left at it's default location. The 'behind the scenes' paths assigned to these names are setup by system administrators.
Graphic File (file upload area) - This is where you upload the graphic image file. Here are the steps:
| 1. | Click the "Select" button. |
| 2. | A file explorer box pops up. Find the image file (jpg, gif) file on your local drive or network drive, then select ok. You should try and select an image file which is approximately 200 pixels wide by 100 pixels high. The clarity of an image at this level will render better then other sizes. |
| 3. | The file name (with local path) will be grayed out, yet appear in the box to the left of the "Select" button. |
| 4. | Click the "Send To Server" button. |
| 5. | This uploads the file to the appropriate server location (see "Location" description above). |
| 6. | The actual image should immediately display on the screen below the 'Remove File !' button. |